Receiving Weather Satellite Images with the Meteor LRPT Suite
A practical guide to getting started with Meteor-M satellites
If you’ve ever wanted to pull live weather images directly from space, the Meteor LRPT Suite is one of the easiest ways to do it. It bundles together all the normally complicated tools into a single, portable setup—making Meteor satellite reception far more approachable.
This guide walks you through what it is, what you need, and how to actually use it.
What is the Meteor LRPT Suite?
The Meteor LRPT Suite is a pre-configured package that combines tools like SDRSharp, Orbitron, and decoding software into one folder.
Normally, setting this up manually is a pain—installing plugins, configuring tracking, linking software—but this suite does most of that for you automatically.
It’s designed to receive LRPT (Low Rate Picture Transmission) signals from Meteor-M weather satellites, which broadcast digital images around 137–138 MHz.
What You’ll Need
Before you start, make sure you’ve got the basics:
- An SDR receiver (e.g. RTL-SDR dongle)
- A 137 MHz antenna (QFH, turnstile, or V-dipole)
- A Windows PC
- The LRPT Suite downloaded and extracted
The suite handles the software side—but your hardware setup will make or break your results.
Step 1: Install the Suite (Properly!)
Once downloaded:
- Extract the ZIP file directly to a drive root (e.g.
C:\LRPT) - Do NOT install it in Program Files (this can break things)
The folder will contain everything:
- SDRSharp
- Orbitron
- LRPT Decoder
- Plugins and config files
No traditional “installer” needed—just extract and go.
Step 2: Install SDR Drivers
Inside the SDRSharp folder, you’ll find Zadig.
Use it to install drivers for your SDR dongle:
- Plug in your SDR
- Run Zadig
- Select your device
- Install WinUSB driver
This step is essential—without it, SDRSharp won’t see your hardware.
Step 3: Configure Your Location
Open Orbitron and set:
- Your latitude & longitude
- Your time zone
This is critical—Orbitron uses this to track satellites and trigger recording automatically.
Step 4: Check Frequency Settings
The suite is usually pre-configured, but verify:
- Frequency: 137.9 MHz (common for Meteor-M satellites)
- Symbol rate: 72k (standard LRPT mode)
Note: Satellites sometimes switch frequencies (e.g. 137.1 MHz), so keep an eye on updates.
Step 5: Calibrate Your SDR (Important!)
Every SDR dongle has a slight frequency error.
In SDRSharp:
- Adjust PPM correction
- Tune until the signal is centred properly
If you skip this, decoding will fail even if you receive a strong signal.
Step 6: Start the System
Now the magic part:
- Run
orbitron.exe - Wait a few seconds
Orbitron will:
- Track satellites
- Automatically launch SDRSharp
- Start recording when a satellite pass begins
You don’t need to manually start SDRSharp—it’s all automated.
Step 7: Receive and Decode a Pass
When a Meteor satellite comes overhead:
- SDRSharp activates
- The demodulator locks onto the signal
- Data is recorded as QPSK files
- LRPT Decoder processes the data into images
During a good pass, you’ll see images gradually building line-by-line.
Step 8: Find Your Images
After the pass finishes:
- Raw signal files are saved (QPSK folder)
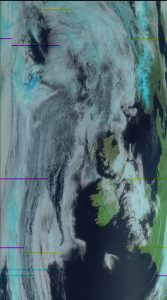
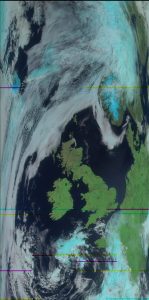
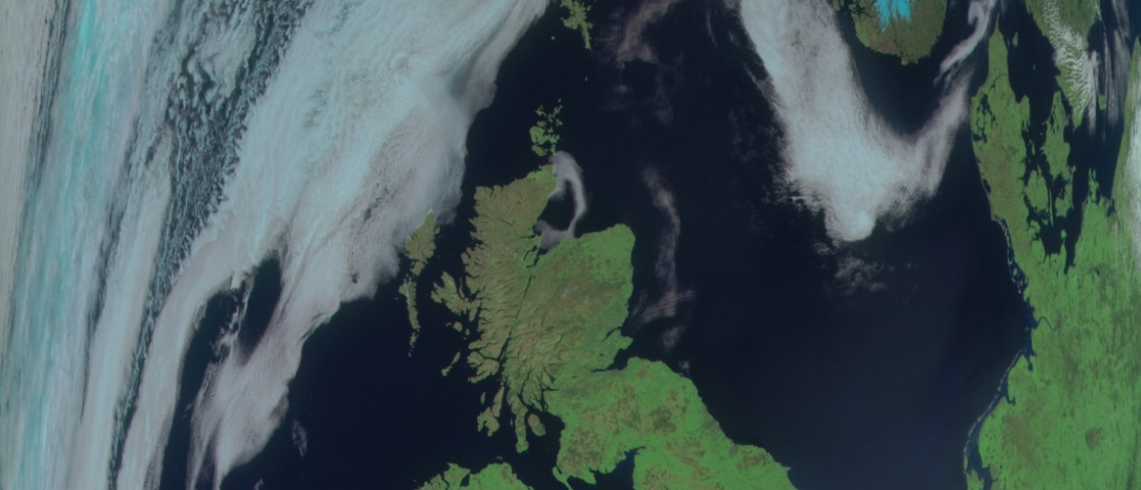
- Decoded images are generated automatically
Depending on your setup, you’ll get:
- Visible light images
- Infrared images
- False-colour composites
What’s Actually Happening?
Meteor satellites transmit digital image data using:
- QPSK modulation
- ~120 kHz bandwidth
- ~144 kbps data rate
Your SDR captures the signal, and the suite:
- Demodulates it
- Corrects errors
- Rebuilds the image
All in real time.
Tips for Better Results
- Use a QFH or turnstile antenna for best coverage
- Disable AGC and set manual gain
- Aim for a strong, stable signal (good SNR)
- Start with high-elevation passes (>40°)
Poor signal = broken or partial images.
Common Issues
No images appearing?
- Check SDR drivers (Zadig)
- Verify frequency and PPM correction
- Ensure Orbitron is tracking correctly
Signal but no decode?
- Likely tuning or gain issue
Orbitron not triggering SDRSharp?
- Check satellite data and location settings
Final Thoughts
The Meteor LRPT Suite removes most of the pain from Meteor satellite reception. Instead of juggling multiple tools, you get a mostly automated pipeline that just works once configured.
It’s one of the best entry points into:
- Weather satellite imaging
- SDR experimentation
- Radio astronomy-adjacent projects