Building a Bridge: Making Cheap LED Panels Work with SignalRGB
The Problem
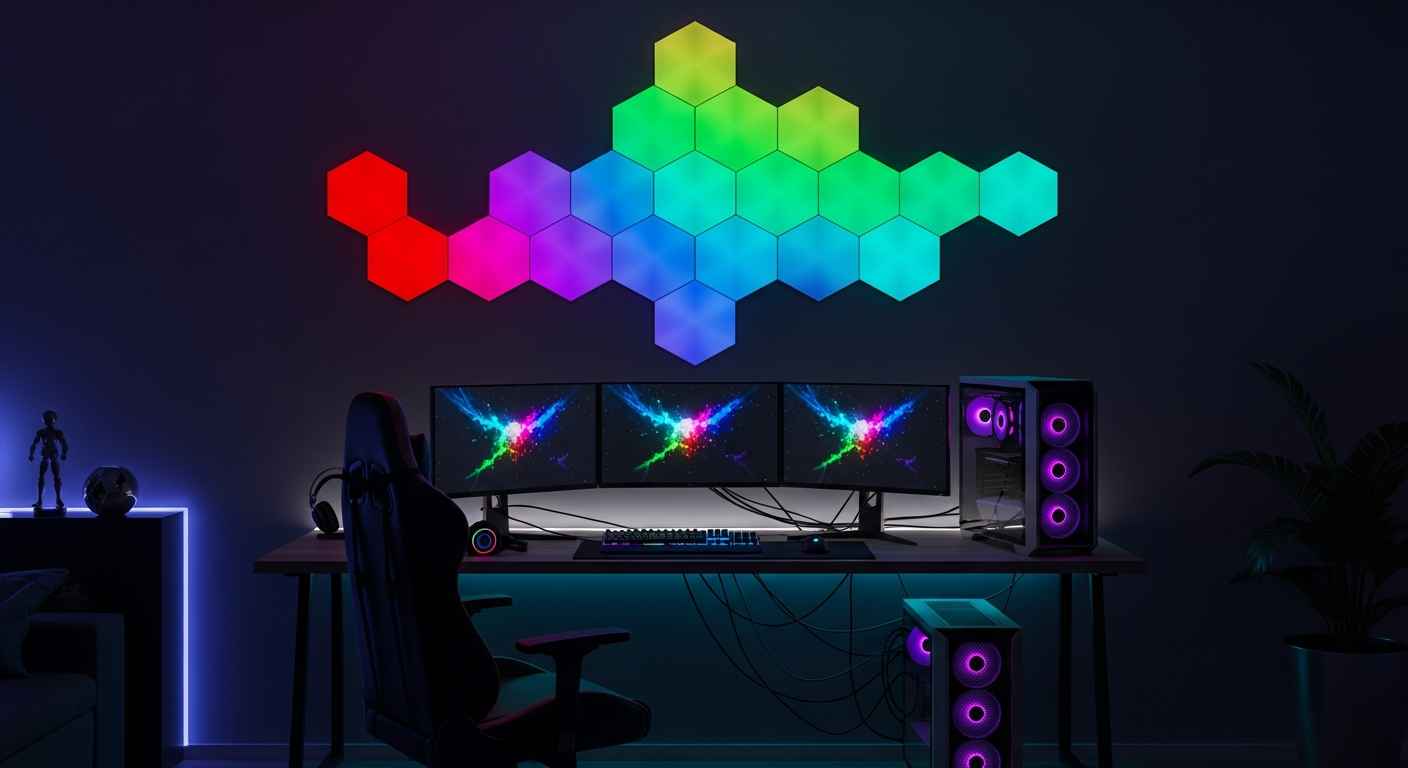
I love RGB lighting. There’s something satisfying about having my desk setup glow and pulse with my games. But here’s the thing, good RGB gear is expensive. When I found some affordable hexagonal LED panels and light strips on Amazon, I thought I’d found the perfect solution. They looked great, had tons of LEDs, and cost a fraction of what named-brand lighting costs.*cough cough Nanoleaf*
I tried to connect them to SignalRGB on a wing and a prayer, the software I use to control all my RGB gear. Nothing. SignalRGB had no idea these panels existed.
I have to admit now, this didn’t come as a surprise. It was at this point that I decided to build my own solution.
Learning the Basics
I’m not going to pretend I knew what I was doing from the start. My first step was understanding how these cheap LED panels even communicated. Turns out, they use something called Bluetooth Low Energy (BLE), basically Bluetooth, but designed for small devices that don’t need to send much data.
My journey started by scanning for Bluetooth devices on my computer. The only device that was unknown to me was a device called MELK-OA, I tried to connect, but nothing happened. It was at this point I headed over to a trusty Google search, looking for Windows integration for Magic Lantern lights, this was the name of the app I used to control them and at that time was the only solid information I had.
This led me to a Reddit post for a controller app for Android called ElKotrol, low on behold, in the app description I saw a line that mentioned MELK-OA. We had a lead!
With this information in hand, I was then able to find a helpful project called LED BLE on Home Assistant’s website that showed me the basics of how these LED strips and panels talk over Bluetooth. From there, I discovered two Python libraries that would become the foundation of my project:
- Bleak: A library for talking to Bluetooth devices
- btledstrip: A library specifically made for controlling LED strips
These gave me the building blocks, but I still needed to figure out the exact commands my MELK-OA panels would understand.
Reverse Engineering the App
The MELK-OA panels came with an app called Magic Lantern. It could change colors, adjust brightness, and even trigger different lighting effects. If the app could do it, I should be able to do it too, right?
I downloaded the Android app and decompiled it, basically, I took it apart to see how it worked under the hood. After digging through the code, I found what I was looking for: the exact Bluetooth commands the app was sending to the panels.
The panels use something called the “7E protocol” (named after the first byte in each command). Here’s what a command to change the color to red looks like:
7E 00 05 03 FF 00 00 00 EF
Those numbers tell the panel: “Hey, set your color to full red, zero green, zero blue.” I found commands for all the built-in effects too, though I ended up removing those from my final project to keep the code simple. I wanted a pure SignalRGB integration and while the effects are nice, it decided that if I wanted to share this project that “keep it simple stupid” was the best option.
The Nanoleaf Trick
Now I had the ability to send colors to my panels, but I still needed to connect them to SignalRGB. That’s when I had an idea: what if I could trick SignalRGB into thinking my cheap panels were actually expensive Nanoleaf panels?
SignalRGB already knows how to talk to Nanoleaf devices. They have a whole API that SignalRGB uses. I found the Nanoleaf protocol documentation on SignalRGB’s GitLab and started reading.
The plan was simple, build a “bridge” program that sits between SignalRGB and my panels. SignalRGB would think it was talking to Nanoleaf panels, but my bridge would translate those commands into the 7E protocol my MELK-OA panels understand.
Building the Bridge
The bridge needed to do three main things:
- Pretend to be a Nanoleaf device: When SignalRGB searches for devices, my bridge needs to show up and say “I’m here!”
- Listen for color data: SignalRGB sends color information over the network using UDP. My bridge needed to listen for these messages and understand what colors SignalRGB wanted.
- Send colors to the panels: Take those colors and translate them into Bluetooth commands the panels would understand.
I built this using Python and a web framework called Flask. When you start the bridge, it automatically scans for any nearby MELK-OA devices and connects to them. Then it sets up a web server that responds to SignalRGB’s requests, just like a real Nanoleaf device would.
The trickiest part was handling the real-time color streaming. SignalRGB can send color updates 30 times per second or more. Bluetooth isn’t quite that fast, so I had to add a “throttle” that makes sure we only send updates as fast as the panels can handle them.
How It Works
Once everything was set up, the workflow became pretty straightforward:
- Run my bridge program on my computer
- It automatically finds all my MELK-OA panels via Bluetooth
- In SignalRGB, I add a “Nanoleaf” device though the auto detection
- When I start an effect in SignalRGB, the colors get sent to my bridge
- My bridge translates them and sends them to all the panels at once
The best part? No manual setup needed. Just run it and go.
The One Limitation
There’s one thing my cheap panels can’t do that real Nanoleaf panels can and that is individual control. With real Nanoleaf panels, each panel can be a different color, creating flowing patterns and animations. My MELK-OA panels all have to show the same color at the same time.
This isn’t a problem with my code (I think) it’s just how the hardware works, the fancy effects that the panels can accomplish via the standard remote are integrated with the controller, and this stops us from creating new ones on the fly, although I was given the idea to try and reverse engineer the controller itself, so look out for a potential future article where I undo all of my hard work and break the lights . So… because our panels don’t have unique addresses, there’s no way to tell them apart. They all listen to the same Bluetooth signal and all show the same color.
For me, this is still a win. While multi-coloured effects would be a bonus, my setup still looks great and all of the panels are synchronised, pulsing with my games or reacting to music.
But it’s worth knowing the limitation if you’re thinking about trying this yourself, personally, I’m just happy that I could use £20 lighting with my PC without having to foot the bill for a more premium product.
What I Learned
This project taught me a ton about how Bluetooth devices communicate, how to reverse engineer mobile apps, and how to build software that bridges different protocols. The best part is that other people with MELK-OA devices can now use SignalRGB too – I made all my code available online so anyone can run their own bridge.
Would I recommend buying MELK-OA panels? If you’re okay with all your panels being the same color and you want to save money, absolutely. With this bridge, they work just as seamlessly as the expensive stuff.
And honestly? The whole project was worth it just for the satisfaction of making something “impossible” work.
Getting Started
If you want to try this yourself, you’ll need:
- MELK-OA LED panels or strips
- A computer with Bluetooth
- Python installed
- SignalRGB
The bridge software is available on my GitHub, and it takes about 5 minutes to set up. Once it’s running, your cheap LED panels become part of your premium RGB ecosystem.
Sometimes the best solutions come from just asking “Why not?” and being stubborn enough to make it work.
UPDATE: I have now uploaded a GUI exe version of this script that will live in your system tray and not have to be started each boot. You can get it here.